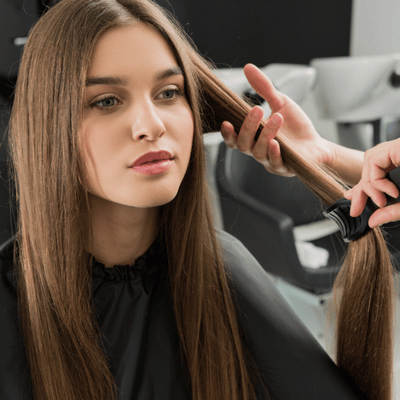
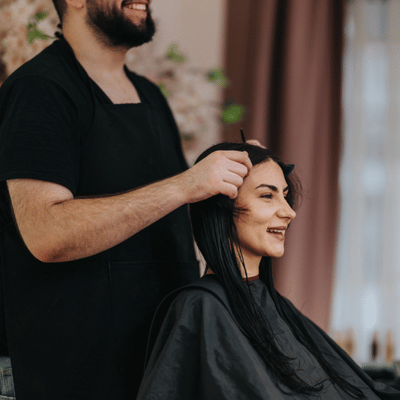
Brazilian Wax Options For Body Waxing Waco Clients
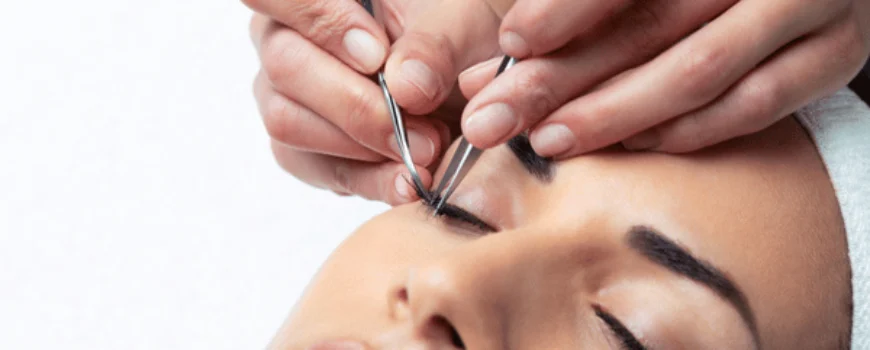
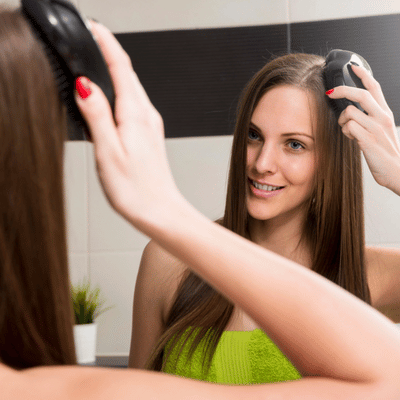
When it comes to body waxing Waco clients want smooth, hair-free skin that lasts. Professional waxing pulls hair out by the root, keeping you silky for 3-4 weeks. In Waco, Texas, Brazilian waxes have become the top choice for women seeking long-lasting results. Nearly 64% of women prefer full removal for their bikini area. Many see waxing as more than grooming—it’s self-care. A 2024 survey found 60% of women view waxing as a confidence-boosting ritual. If you’re curious about body waxing Waco spas offer, this guide covers everything you need to know.
Table of Contents
Why Body Waxing Waco Salons Are Busier Than Ever
Body waxing Waco studios are packed for good reason. Social media has made smooth skin popular—about 70% of women say Instagram and TikTok influence their waxing style. But there are real benefits beyond trends:
Key Benefits of Waxing:
- Longer-lasting smoothness: Results last 3-6 weeks versus days with shaving
- Finer regrowth: Hair grows back softer and thinner over time
- Less irritation: Fewer razor bumps, ingrowns, and cuts than shaving
- Exfoliated skin: Wax removes dead skin cells for extra soft skin
These benefits matter in Texas, where shorts and swimwear are year-round staples. Many Waco women feel more confident at Lake Waco after a fresh wax. Waxing also saves money and time long-term. You trade daily shaves for one monthly appointment.
Another 2025 trend? Most people trust pros over DIY. About 75% of Brazilian waxes are done by professionals rather than at home. First-timers usually start simple—roughly 70% choose a basic bikini wax for their first session.
Brazilian Body Waxing Waco: What Are Your Options?
Brazilian body waxing Waco clients can customize how much hair they remove. Here’s a breakdown of bikini area wax styles:
Bikini Wax
This conservative option removes hair visible outside your underwear or swimsuit. The esthetician waxes along your bikini line—inner thighs, groin, and below the navel. Hair on the central pubic area stays. Great for first-timers wanting a natural look.
French Bikini (Extended Bikini)
This goes further than a basic bikini wax. It removes more hair from the front, creating a landing strip or small triangle. The French wax takes off hair from the pubic mound and around the labia but skips the back area.
Brazilian Wax
The Brazilian is the most popular option in 2025. It removes all or nearly all pubic hair from front to back. That includes the pubic mound, labia, and back area. You can go totally bare or leave a small strip on top.
Hollywood Wax
A Hollywood wax means absolutely no hair left—completely bare front to back. Only about 12% of women choose this style. Most stick with the Brazilian and customize their preference.
Which is right for you? Start where you’re comfortable. Many body waxing Waco clients begin with a bikini wax, then try a Brazilian later. Good salons prioritize your privacy and comfort. Estheticians use hard wax for Brazilians because it sticks to hair, not skin, reducing pain during removal.
Brazilian Body Waxing Options
Bikini Wax
This conservative option removes hair visible outside your underwear or swimsuit.
French Bikini (Extended Bikini)
This goes further than a basic bikini wax. It removes more hair from the front, creating a landing strip or small triangle.
Brazilian Wax
The Brazilian is the most popular option in 2025. It removes all or nearly all pubic hair from front to back.
Hollywood Wax
A Hollywood wax means absolutely no hair left—completely bare front to back.
Full Body Waxing Waco TX: Smooth from Head to Toe
Some Waco clients want more than just bikini area hair removal. Full body waxing Waco TX salons offer top-to-bottom service in one session. A full-body wax typically includes legs, bikini/Brazilian area, underarms, and sometimes arms.
Benefits of Full Body Waxing:
- Time-saver: One appointment instead of multiple visits
- Long-lasting: Results last 3-6 weeks
- Vacation-ready: Perfect before beach trips or special events
A full-body wax takes one to two hours. But busy Waco students and professionals love the convenience. Many body waxing services Waco spas offer bundle pricing for multiple areas. You can customize which areas to include.
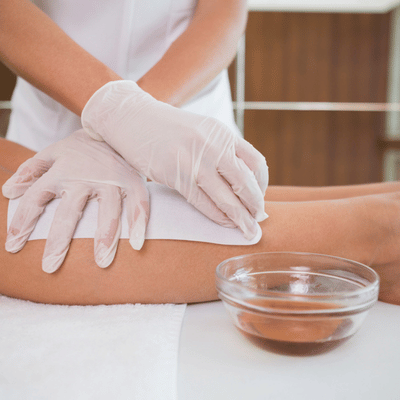
Expert Body Waxing Services Waco Clients Trust
Choosing quality body waxing services Waco providers ensures safe, positive results. You want experienced hands and clean environments.
Tips for a Great Waxing Experience:

Before Your Appointment:
- Choose a licensed, hygienic salon with good reviews
- Grow hair to 1/4 inch (about 2 weeks without shaving)
- Exfoliate 1-2 days before to prevent ingrowns
- Keep skin moisturized but skip heavy creams on appointment day
After Your Wax:
- Avoid hot tubs and saunas for 24-48 hours
- Wear loose, breathable cotton clothing
- Skip intense exercise for a day
- Continue gentle exfoliation after 2 days
- Moisturize daily with aloe or tea tree oil if needed
Professional Standards to Look For:
- Licensed estheticians
- Gloves worn during service
- New sticks for each application (no double-dipping)
- Clean, sanitized treatment rooms
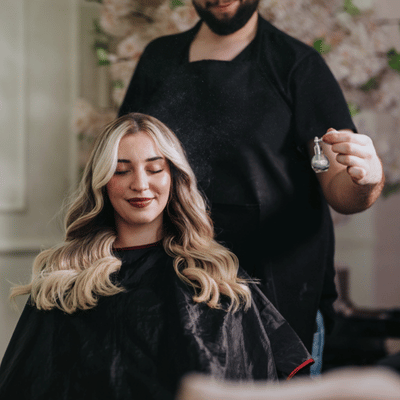
Talk openly with your esthetician. Let them know if you’re a first-timer. At On The Avenue – The Spa in Waco, our licensed professionals walk you through the entire process. From Brazilian options to aftercare, we make sure you feel comfortable.
Yes, there’s brief discomfort during waxing. But many clients say the first time is the worst. The payoff? Weeks of smooth skin.
Conclusion
Professional waxing offers long-lasting smoothness that shaving can’t match. Whether you want a tidy bikini line or full body waxing Waco TX services, skilled estheticians make the process quick and comfortable.
Ready to experience smooth, confident skin? Contact On The Avenue – The Spa today to book your waxing appointment. Our experienced team offers body waxing Waco clients trust, from Brazilian waxes to full-body services!
Frequently Asked Questions
How long does a Brazilian wax last?
A Brazilian wax typically lasts 3-4 weeks before you need another appointment. Your hair grows back finer over time with regular waxing.
Does Brazilian waxing hurt?
There’s brief discomfort, but most clients say it’s tolerable. The first session is usually the most sensitive, then it gets easier.
How long should my hair be for waxing?
Your hair should be at least 1/4 inch long. Avoid shaving for 2-3 weeks before your appointment for best results.
What’s the difference between a Brazilian and bikini wax?
A bikini wax only removes hair visible outside your underwear line. A Brazilian removes all or nearly all hair from front to back.
How do I prevent ingrown hairs after waxing?
Exfoliate gently 2-3 times per week starting 48 hours after your wax. Moisturize daily and wear loose clothing right after your appointment.